Interior Car Cleaning
Get and keep your vehicle clean
Unless you’re fastidious about your car’s interior, it’s usually the last thing on your cleaning list. As the months roll by, grime, wrappers, dust and junk can just pile up. Unfortunately, most of us finally get around to the deep cleaning when we tape the “For Sale” sign on the windshield. So whether you’re selling your car or just want to clean it up for spring, these tips from professional detailers will give you the most return for your energy. You’ll feel like your car is brand new again.
Step 1: Slide seats forward and clean out the junk
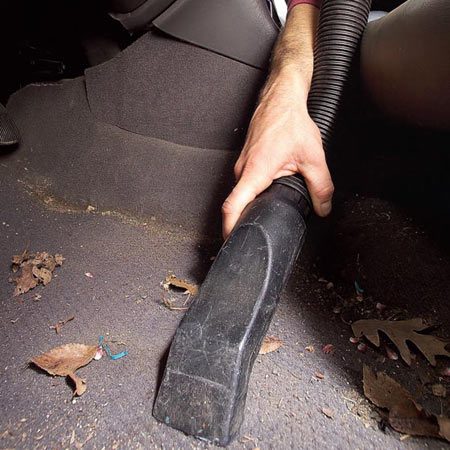
You’ll be surprised by what you find. We found a lost cell phone, enough pens and pencils to equip a small office, and enough change for several vending machine lunches. Vacuum the seats, remove the mats and vacuum the carpet. Use a brush attachment for the dash and door panels. Don’t forget to clean out and vacuum those handy door pockets (another source of buried treasure).
Step 2: Deep-clean carpet and upholstery
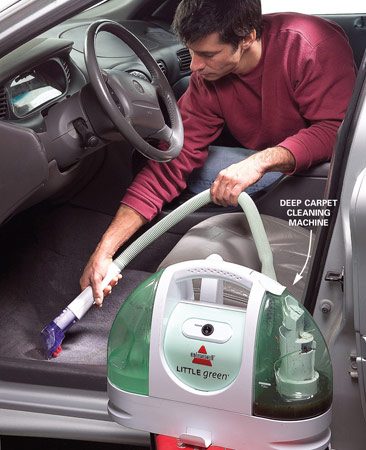
Use a carpet cleaning machine to get the deep dirt that settles into the fibers of the carpet. (Clean cloth seats this way as well.) It sprays the carpet with a solution of water and cleaner and then sucks the dirt and grime into a reservoir. A machine like this pays for itself after just a few uses. You can also rent one from a rental center or use a spray-on cleaner and a scrub brush instead.
Step 3: Clean and condition leather or vinyl seats

After a couple of years, you’ll notice that the color of the leather seats no longer matches the rest of the interior. It’s not enough just to condition the leather. First spray on leather cleaner and rub vigorously with a clean terry cloth towel. To avoid rubbing the grime back into the seats, keep flipping the cloth to expose a fresh surface. Let the seats dry for an hour and then rub in a leather conditioner like Lexol to keep the leather supple. It’s available at discount stores and auto stores.
Step 4: Remember to clean nooks and crannies
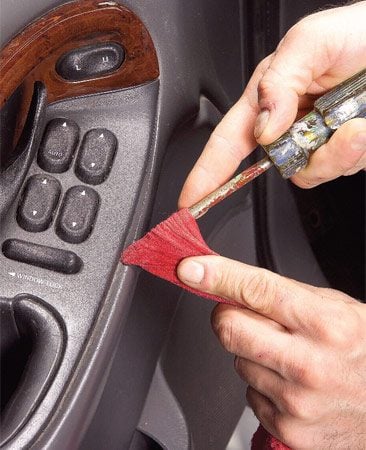
Detailing means just that—finding and dealing with all the trim lines and recesses that a quick once-over cleaning job misses. Wrap a cloth around an old, worn screwdriver (without sharp edges) and spray Simple Green or other all-purpose cleaner on the cloth. Move it gently along the trim lines to pick up the gunk. Keep refreshing the surface of the cloth. Go around all the buttons and controls as well. Follow up with a rejuvenator like Armor All.
Step 5: Brush out the air vents
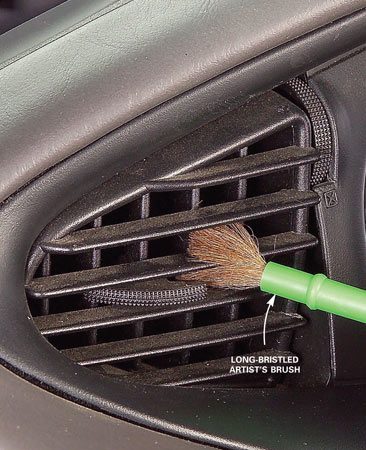
These louvers are a real magnet for dust, and a vacuum with a brush attachment just won’t get it all. Take an inexpensive paint brush and give it a light shot of Endust or Pledge furniture polish. Work the brush into the crevices to collect the dust. Wipe the brush off with a rag and move on to the next one.
Step 6: Wash the windows, including the top edges
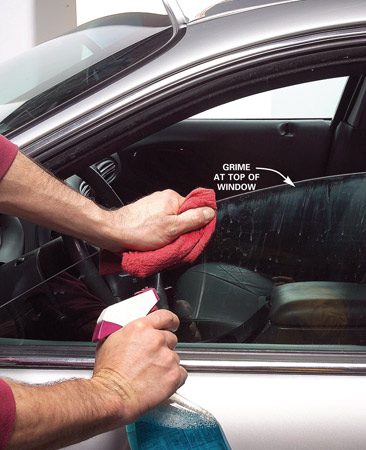
Ever notice that line of grime on the tops of windows when they’re partially rolled down? Most people overlook this detail when giving their vehicle a quick wash. A few minutes with Windex and a clean rag is all it takes.
Step 7: Scrape off those annoying stickers
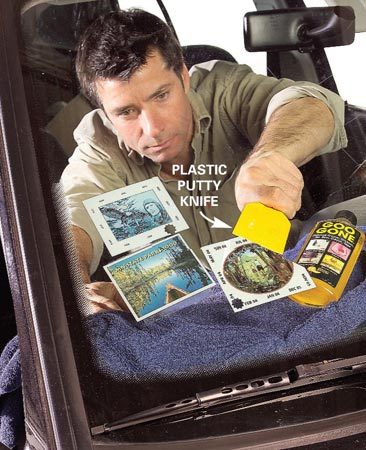
While all of your national and state park stickers may call to mind great memories, they can be a visual hazard as they accumulate. The high-quality stickers will pull off if you can get under a corner and carefully pull them free at a 90-degree angle. Others will leave a gummy residue and require a bit more attention. Cover your dash with an old towel and dab on Goo Gone. Then scrape and wipe it off.
Step 8: Kill bad odors.
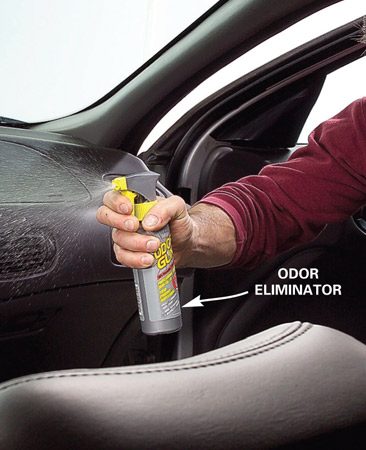
Whether your vehicle smells like a Big Mac or cigarettes, one pump of the Odor Gun will solve the problem.
No comments:
Post a Comment