It is no secret, young children learn through play. Here are some really fun things you can keep on hand for your little preschooler or elementary aged kiddo for some real hands on fun and learning from
Fun-A-Day!
Also - a lot of these things you may already have around your house that your little one might "borrow" for a bit. Water/Sensory tables like the one pictured are GREAT! I have always had one for my three kiddos. Rather than buying one, we took two large plastic totes, turned one over and glued the second on top (bottom to bottom). Super easy and perfect height for a preschooler too and you can reuse the totes when they out grow the table :)

That being said, I do have certain “tools of the trade” that I love using when doing silly experiments and playing in sensory bins. I’m not focusing on ingredients today — rather, the items that help the kiddos explore those ingredients. Since there really are a limitless amount of tools little scientists can use, I limited myself to 15! I’d love to hear what your favorites are in the comments section below! :)
Affiliate links are included for your convenience. Many of these items can also be found at your local grocery store, The Dollar Store, Dollar Tree, and a variety of chain stores.
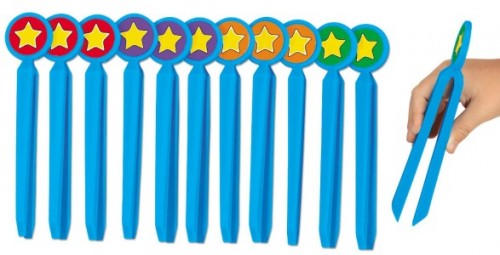
TWEEZERS
The kids always get a kick out of using
child-sized tweezers,
chopsticks, and
mini tongs
! They’re great for transferring and picking up items during sensory and science play. Tweezers and chopsticks are a great alternative for those children who aren’t as excited about getting their hands dirty. They also add a fine motor dimension to all of the sensory fun!

FUNNELS
I think funnels are Engineer’s favorite science/sensory tube. He especially loves using them to add liquids to empty bottles at our water table! They’re also great for adding little bits and bobs to discovery bottles! Many kiddos just like to pour different items into the top of the funnels and watch as the items fall (or don’t fall) through the mouth of the funnel.


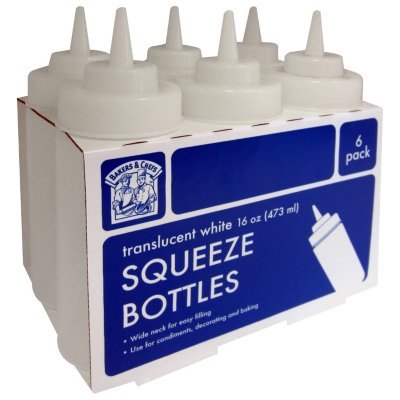
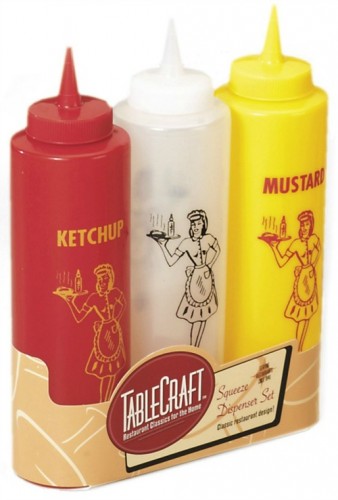
SQUEEZABLE CONDIMENT BOTTLES
There’s just something about squeezing these plastic bottles that kids react to! Maybe it’s the force they get to exert on the bottles or the possible mess they might be able to make? We use the bottles to add vinegar and water to our fun science experiments, paint in the snow, “write” with liquids, mix colors, etc.
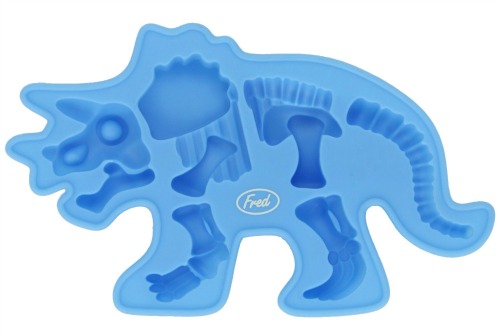
ICE CUBE TRAYS
With all of the freezing experiments we’ve done over the summer,
ice cube trays have become go-to science tools at my house! Ice cube trays are also great to hold small items and liquids for science/sensory fun. The
specially-shaped trays can add a new dimension to play as well — to make shaped ice cubes and shaped Jell-O concoctions, for example.

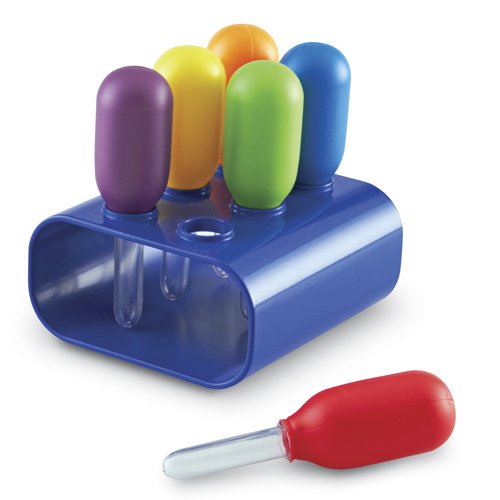
EYE DROPPERS
Nothing makes a child feel more like a scientist than
eye droppers! They add a different fine motor aspect to sensory and science play, allowing the children to work the small muscles in their hands. Transferring liquids, dropping vinegar on baking soda, and mixing colors are just a few ways to use eye droppers. Turkey basters also work well as droppers, and I am just LOVING these
Jumbo Eye Droppers from Learning Resources (I haven’t tried them out yet, but I plan to soon)!!

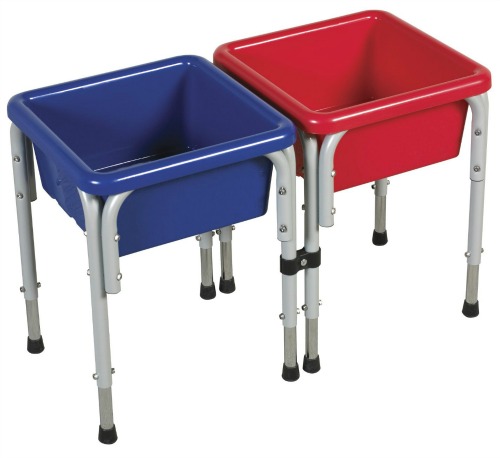
LARGE PLASTIC BINS AND WATER TABLES
We do fun science experiments in multiple containers, depending on what we’re doing and where we are! In my classroom, I have a
two-bin water table that’s a great height for the preschoolers (they also have a
four-bin version
). I love that I can easily lift the tubs out when I need to empty them and clean them (which is pretty often). Other teachers at my school love the
simple one-bin water tables. At home, we use large plastic bins if we’re inside on a rainy day or if we want to transport it easily. If the weather’s nice and we’re on the back porch, we stick with a
simple water table. Engineer’s getting too tall for it, so I will likely upgrade to something that suits him better soon.

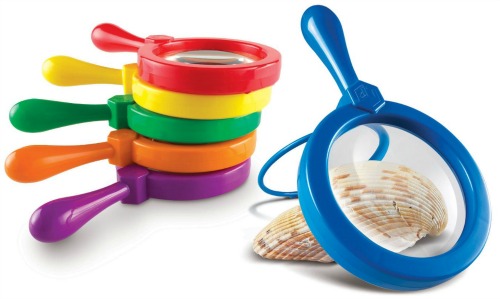
MAGNIFYING GLASSES
Yes, they’re meant to magnify items that children are observing. Even beyond that, the kiddos just love using them! Half the time, it’s for looking at items up close. At other times, though, they just love pretending to be scientists. There’s nothing wrong with pretend play being thrown in with science and sensory play! I’m all for science tools that make the experience even more fun for the kids, and
magnifying glasses do just that.


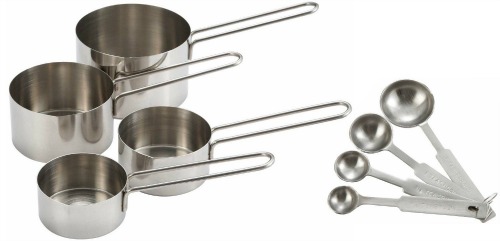
MEASURING CUPS AND SPOONS
These items are often pilfered from my kitchen when Engineer and his buds are experimenting or playing in sensory bins. I’ve set the children up with a variety of their own
measuring cups and spoons. It’s lessened the pilfering from my kitchen, although I notice they still wander off occasionally! The cups and spoons help kids transfer materials, measure items, scoop, and pour. Plus, they seem to make children feel more “grown up” because they’re using tools their parents use.

MAGNETS
It seems that, no matter the age, kids are just fascinated by magnets. Engineer likes using magnets to make different structures, both on and off the fridge. He also likes exploring which items are magnetic and which are not. Children can also experiment with different strengths of magnets, or they can see how many items one magnetic wand can lift. The possibilities are endless!


PVC PIPES
Engineer loves building and creating new structures (thus his nickname)! He has used PVC pipes to create marble runs, water slides, and all sorts of musical instruments. When it comes to science, PVC pipes let children experiment with physics and the movement of liquids. They’re also great in sensory bins — to transfer different materials all around the water table and to test the sounds different items make. I purchased my PVC pipes at a local hardware store.

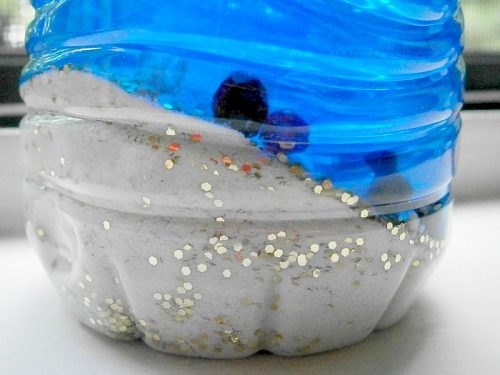
RECYCLABLES
Empty plastic bottles, cardboard tubes, empty sauce jars, cleaned out snack containers, etc. etc. etc. Half the time, any recyclables we have are cleaned up and stored in the craft closet for future use! We use plastic bottles to make discovery bottles, transfer sensory items, and so much more! Jars, containers, and bottles let children measure and pour, too. Cardboard tubes let children
experiment with physics and create new aspects to their science/sensory play. With a child’s imagination, this list could go on and on!
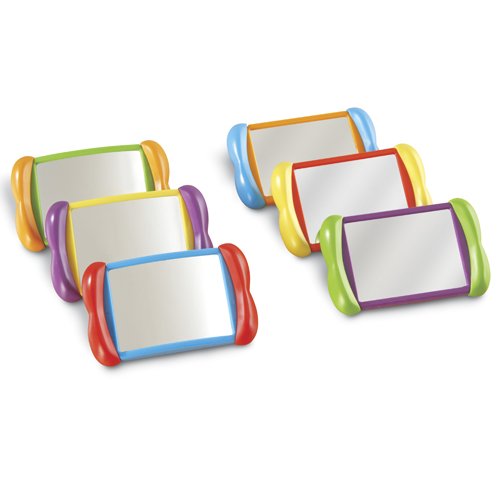
MIRRORS
Mirrors let children explore how reflections and light works. Plus, kids just enjoy looking at themselves in mirrors, which adds a different perspective to their science/sensory experiences. I have yet to post about science/sensory with mirrors, but I recommend you check out
My Nearest and Dearest’s “Water, Mirrors, and Reflections: A Physics Investigation for Preschoolers“ and
Twodaloo’s “Blue Sky Sensory Play“. 
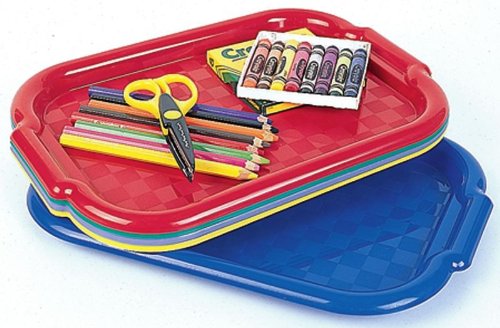
TRAYS
Using different sized
trays lets children move their experiments from one place to another. Engineer also likes using them to differentiate parts of his sensory play (for example, putting hay on one tray and dirt on another while creating a farm sensory scene). Also, trays help to contain (some of) the mess!

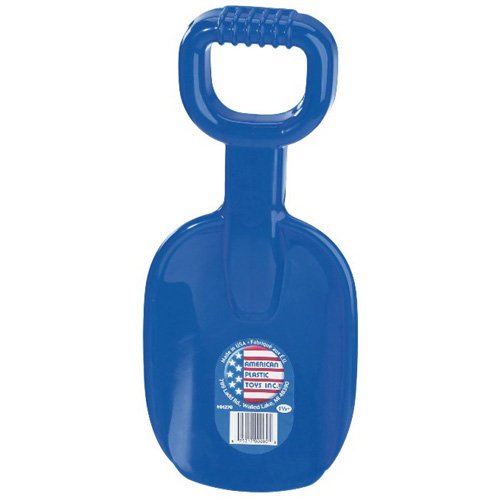
SHOVELS AND SCOOPS
Transferring items is a huge part of sensory play. Little Hurricane loves shoveling materials from one place to another and back again. Engineer enjoys using them to scoop items into funnels, PVC pipes, cardboard tubes, etc. They’re also helpful for learning measurement!