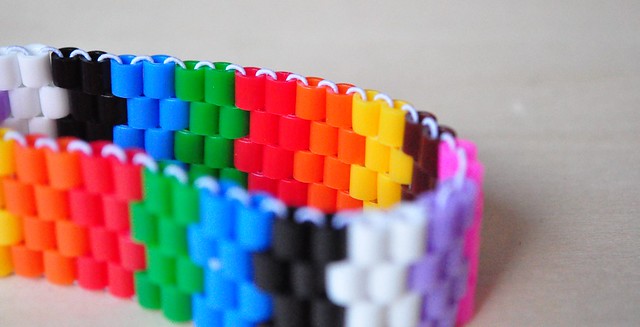
Beaded Bracelets
 STEP 1:
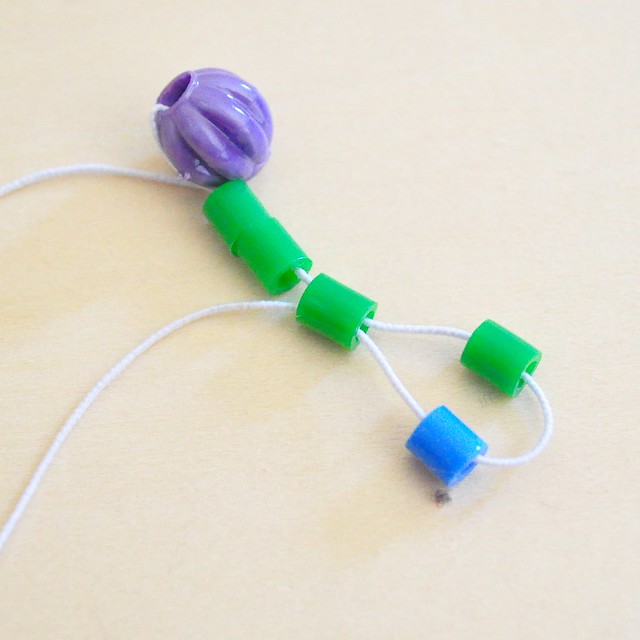
Tie a bead (I use a different kind bead so it's obvious) as a stopper to one end of your string/elastic thread).
Add 4 beads (or any even number beads) to the string.
Note: If you use an odd number beads the pattern will not work out, there is a way to weave with an odd number, but it's a bit more difficult and can be confusing for beginners or young children. You can use any even number, for a bracelet, this will define the width of your bracelet, 4 is a pretty good size for kids arms. You can use this technique for any size projects, 12-16 beads for coasters, or even 50 beads or more for placemats.
 STEP 2:
 Add another bead and put the string through the 3rd bead of the first row.
 STEP 3:
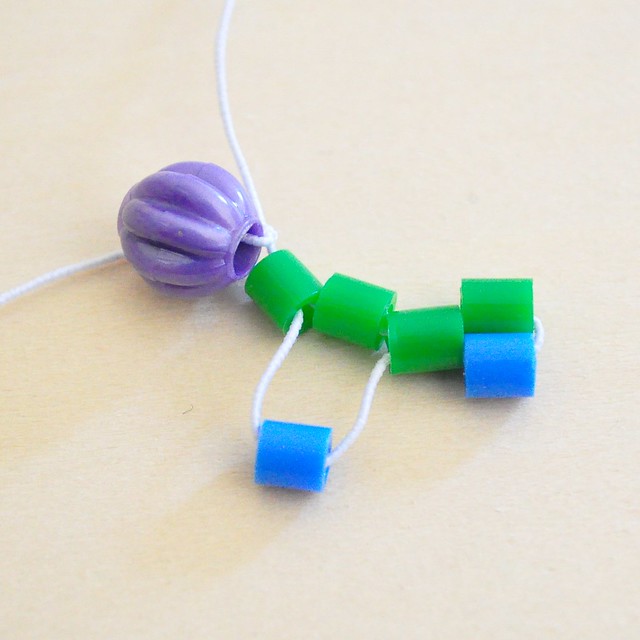
Add one bead and put the string through the first bead of the first row.
(You can totally do Step 2&3 in one step, I just separated it for clarity, this is how the kids I did this with understood)

STEP 4:
Pull tight. Now you have the basic set-up for the weave pattern.
1-2-1-2 or low-high-low-high.

STEP 5:
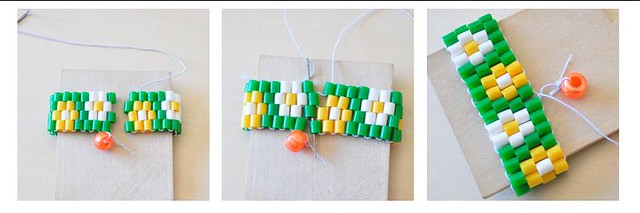
Add a new bead at the low position and pull the string through the blue bead (high) of the last row. Repeat.
Got it? Always add a bead to the low position and pull string through the high of the last row. For a 4 bead wide bracelet you will add 2 beads with each row, switching direction from left-right to right-left and back...
 TIP:
TIP:It's much easier and quicker to do this with a needle, as you can see in the picture to the left.
You should pull tight after every row, but you can loosen up the last row a bit to make it easier to put the string through the beads, this is especially helpful if you (or your kids) do this without a needle.
HOW TO FINISH THE BRACELET?
Here a few bracelets I made for my baby... patterns & more

No comments:
Post a Comment