DIY: STRING HEART
By: www.greenweddingshoes.com/diy-string-heart/
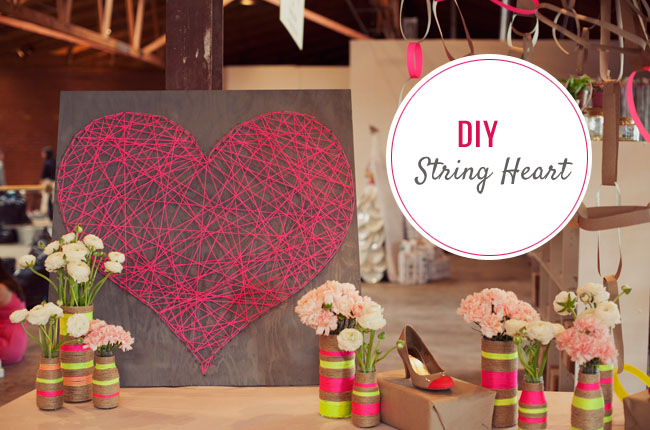
We got so many compliments on this giant string heart from The Cream – and the best part – it’s pretty easy to make one of these yourself! Such a rad piece for your reception decor that you can keep for your home also. :)
Materials Needed:
• piece of wood – the bigger the more dramtic!
• string – we used the pink neon thin rope you can find at Home Depot, but you could use any yarn or string
• box of nails (if want a nail with a decent head so the string won’t pop off)
• spray paint to paint the wood
• white paper to draw the heart on
Step 1: Spray paint the wood the background color you picked. We used dark gray, so the pink would really pop
Step 2: Once the paint is dry, tape the wood with the white paper and draw the heart shape on the paper
Step 3: Time to get the hammer out! Nail around the entire outline of the heart – we spaced our nails about an inch apart.
Step 2: Once the paint is dry, tape the wood with the white paper and draw the heart shape on the paper
Step 3: Time to get the hammer out! Nail around the entire outline of the heart – we spaced our nails about an inch apart.
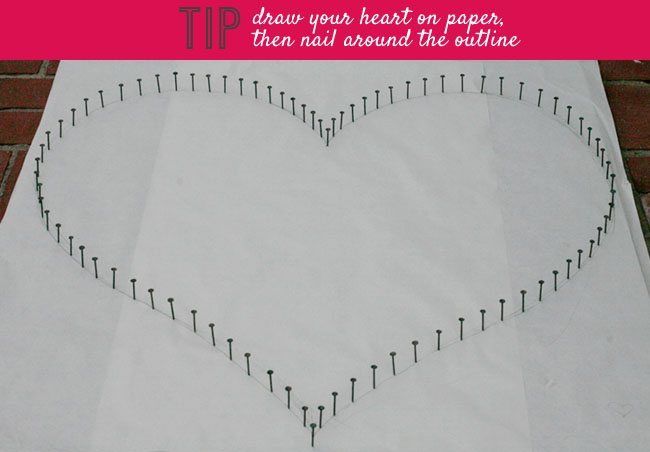
Step 4: Once all your nails are in. Remove the white paper and throw it away.
Step 5: Now the fun part. Get your string and tie a knot around the head of one of the nails. Keep stringing the string around nails. There isn’t a right or wrong way – just keep going until you like the pattern you created. I also then outlined the entire heart to make the outline pop a bit more also.

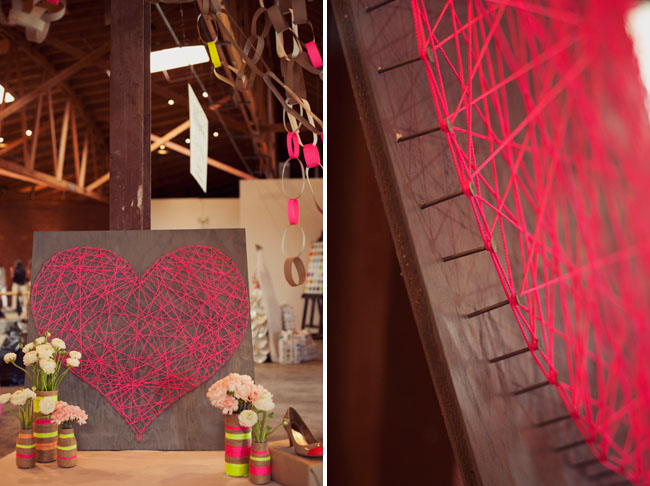
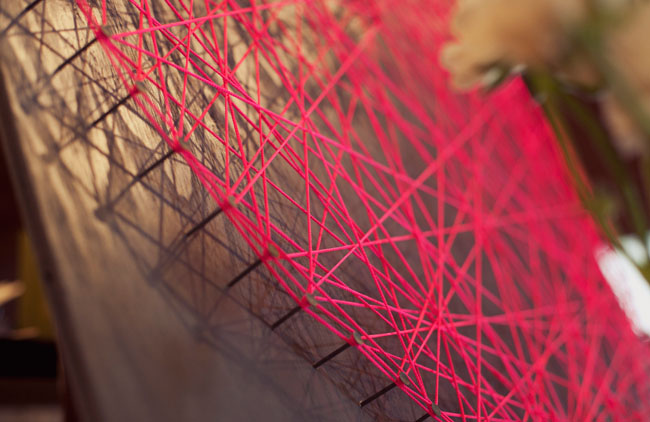
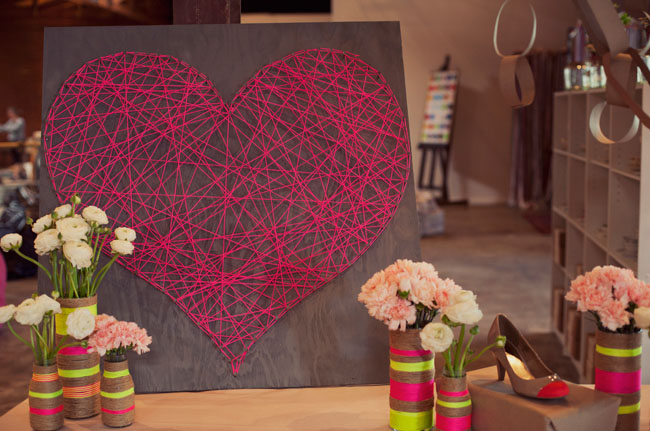
Total cost for this project – $35 (the most expensive part is the wood!) and it can be done in a few hours. There are so many different ways you can customize this DIY for your own wedding day, right? So fun.
No comments:
Post a Comment