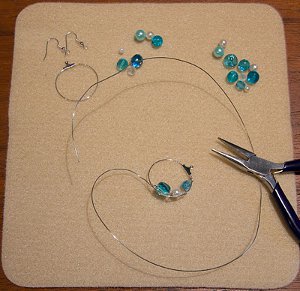
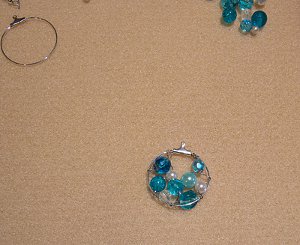
Today I’m sharing a handful of basic Kumihimo tips and tricks. These are pretty simple things that I’ve encountered while braiding my heart out. I hope at least one or two prove useful you on your exploration of this fun and incredibly addictive craft!
1. The foam discs used for Kumihimo are really convenient, but after time the slots will begin to stretch out. For example, if you braid a lot of 2mm cord and then try to use the same disc with embroidery floss, the floss will not stay well because the foam has conformed to fit the much larger cord.
To keep this from being a problem, I have several discs and only use them for one size or type of cord. I have a wheel for 2 mm, a wheel for 1 mm and a wheel for very fine cords. I mark them on the back to keep from getting confused.
2. Different sized cords will require different finished lengths because of theadded bulk. As a example, a bracelet out of 2mm cord, the length of 8.5 inches fits me well but when using the much smaller craft floss I only need a length of 7 inches for a good fit.
3. A finished Kumihimo braid will stretch out, but not back. Before preparing a braid for a bracelet, it is best to give the cord a good pull to stretch out fully. If you don’t, the cord will stretch over time and become way too large to wear.
The cord in the picture above measured about 5 inches when taken directly off of the disk, but after stretching to its full length became about 6 3/4 inches long. The cord can be stretched while on the disc, just hold the cord in the center on the top of the disc to keep from pulling your cords from your slots.
4. Remember that adding end caps adds length to a finished piece. Keep this in mind when creating a beaded braid since you can’t just trim as needed once complete.
5. When placing tight cord ends onto a braid, have a wooden skewer or toothpick on hand to shove stray strands into the end cap.
6. Sometimes I’ll cut a single cord shorter than the others by accident. I only notice when I get down to the end of my braid and one piece won’t fit in the slot anymore. To remedy this, I’ll take a small piece of tape and place the cord in line with the slot that it would be sitting in if it wasn’t so darn short.
7. Experiment with different cords and fibers for different looks. I tend to prefer satin rattail for my braids but it can be expensive. You can also braid craft cord, embroidery floss, jewelry wire, leather cord (as suggested by a reader – thanks!), baker’s twine, yarn, fancy yarns (like the furry stuff), plastic cord… the list could go on and on I’m sure.
8. To keep costs to a minimum while I’m trying to work out a pattern, I use cheap acrylic yarn.
9. The best way that I have found to save my place when working with my disc is to make the first move and bring the cord up and then leave it. When I have one extra cord on one section of my wheel, I know that is where I need to pick back up at.
10. When working with patterns, color choice can make all of the difference. When attempting to make a braid I use colors that always go well together and are different enough from one another. My scheme of choice is black, white and red. I toss in orange or blue when I need more colors.



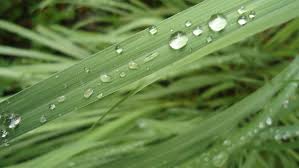 Chances are, you’ve heard of this one before- it’s one of the most common ingredients in most mosquito repellents. Strange enough though, many people don’t even know that citronella is actually a plant! Citronella is a beautiful perennial clumping grass that emits a strong aroma. That aroma masks other scents, and keeps mosquitoes from being attracted to things located around it. The citronella plant has a much stronger aroma than other mosquito repellents that contain citronella, so it is a great choice. Citronella is very easy to grow, and can get to be a very tall 5 or 6 feet high! You can grow citronella in pots and place it around a porch or patio, or you can plant it directly in a yard or garden bed. It’s a great choice for repelling mosquitoes naturally.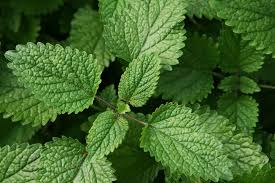

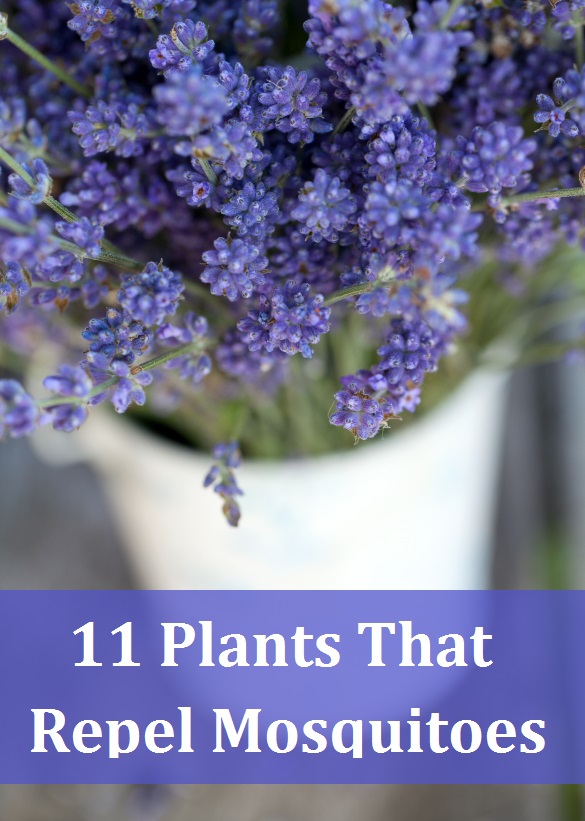
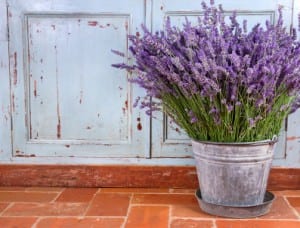 You probably know that lavender is a gorgeous purple flowering plant with a soothing, calming scent. But, did you know that it is also a natural mosquito repellent? Grow it indoors near a sunny window, or outside in your garden or flower bed to keep the bugs away. While you’re at it, make a delicious herbal tea, or use lavender to fill your home with a wonderful calming aroma.
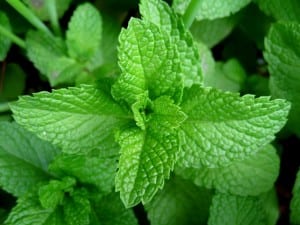 Most bugs despise the smell and taste of peppermint, so planting it around your home is a great way to keep them from dropping by uninvited! Plus, if you do happen to get bitten, peppermint leaves rubbed directly onto the skin make a great itch relief treatment! Added bonus for the wonderful minty smell that makes a delicious addition to food and beverages!
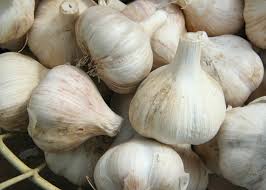 Unfortunately for all of us who love Italian food, studies have shown that EATING garlic does not repel mosquitoes. (Unless, however, you were to eat a HUGE amount!) However, having garlic around DOES! Make sure to add some garlic to your flower bed or vegetable garden for added protection!
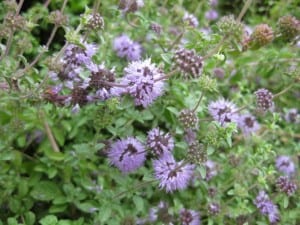 The adorable pennyroyal flower is a natural deterrent for mosquitoes! Make sure to plant some around your flowerbeds! Pennyroyal plants also make great groundcovers, and they attract a plethora of beautiful butterflies. Some people even use pennyroyal to flavor certain fish dishes. As you can see, this plant has plenty of benefits!
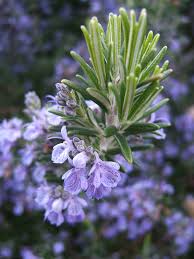 Rosemary is a beautiful flowering plant that is often used to flavor lamb or fish dishes, but did you know that it is also a natural mosquito repellent? It’s perfect to add to your herb garden or flowerbed to keep bugs away, and it even attracts butterflies!
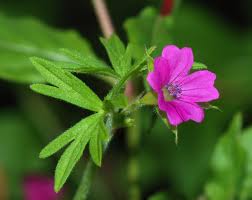 This beautiful flowering plant is a great choice for mosquito repellent. When planted in a hanging container, the colorful blooms will cascade over the side of the pot, providing a beautiful visual piece as well as a very useful bug repellent!