
I’ve tried lots of times to bind a quilt with my sewing machine and it never looked as good as I wanted it to. For years I’ve been hand sewing my bindings, and although I enjoy hand sewing occasionally, I really don’t have the time to do it for every quilt! And I worry about how well it will hold up over time, etc.
Cluck Cluck Sew is one of the few blogs I read. I love her and her blog and her quilts and now her new fabric line! She shared a machine binding tutorial a few months ago that was just what I was looking for. I added one step that helped me get it just right.
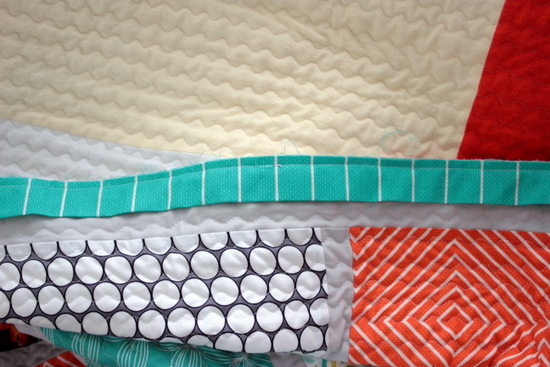
Cut the binding strips 2.5″ wide, sew together end to end to make a super long strip, press in half, line up the raw edges with the raw edge of the quilt and sew at exactly 1/4″.
This is the step I added to her otherwise perfect tutorial:

Mark a line 1/8″ away from the stitching line.

Fold the binding over the raw edge and match it up with the line you just drew. I use these little clips instead of pins, they work so much better to keep the fabric just where I want it.

Finish sewing the binding to the quilt now with the back of the quilt facing up. Sew right along the edge of the binding.
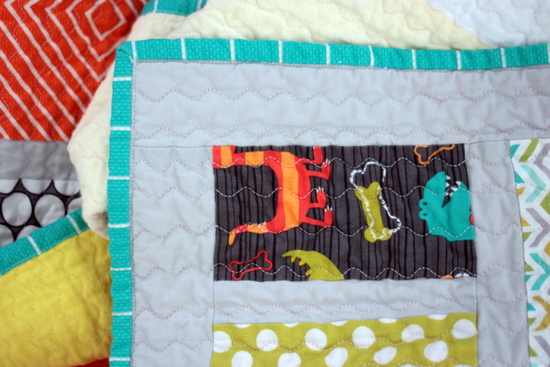
Drawing that line makes the binding straight on the back side and the stitching line completely straight and parallel to the edge of the binding on the front side. My stitching line used to be all over the place and ended up on top of the binding in spots. It looked terrible!
No comments:
Post a Comment