Showing posts with label Ready for the Weekend Recipes. Show all posts

Friday, November 13, 2015

Ready for the Weekend Recipe: Fully Loaded Baked Potato Salad


Loaded Baked Potato Salad
Loaded Baked Potato Salad     http://thisismykeywest.com/2013/05/16/loaded-baked-potato-salad/
Since first publishing this recipe a little over a year ago, it has received over a half a million views, hundreds of comments, and people have written to me from all over the world telling me that it is now their favorite dish. And the best part is it is super simple to make!
I originally came up with this recipe when looking for a new side dish for BBQs. I am not a big fan of mayo and wanted something a little less “wet” and non-traditional. It has been a wild success and I’m not allowed to host any BBQ now without making this and doubling the recipe!

Fully Loaded Baked Potato Salad

One 5 pound bag medium Russet Potatoes
1 cup sour cream
1/2 cup mayonnaise
1 package of bacon, cooked and crumbled
1 small onion, chopped
Chives, to taste
1 1/2 cups shredded cheddar cheese
Salt and pepper to taste
1. Wash the potatoes and poke holes in them with a fork. Bake at 350 degrees for about an hour or until fork tender.
2. Cool and cut the potatoes into bite sized chunks.  I put them in a separate bowl and once they cooled enough I put them in the fridge to cool all the way. This gives them an excellent texture and prevents the dairy ingredients from getting hot or the cheese from melting. If you are serving this salad hot then you don’t need to cool the potatoes, just skip that step!
3. Mix the mayo and sour cream together in a bowl. Add to the potatoes, then add the onions, chives,  and cheese. Salt and pepper to taste – I use a pepper grinder and a sea salt grinder for EVERYTHING so I never know exactly how much of either I put in. I think the taste is far superior to just using regular table salt and pepper.
4. Top with extra shredded cheese, bacon, and chives, and serve!
This is a simple and inexpensive side dish for any meal but especially great to take to a barbecue. My favorite part is that this is one of the regular ole recipes that anyone would make without realizing that it happens to be gluten free naturally. Those are my favorite! No special ingredients or expensive grocery stores, just regular food that I can eat along with everybody else. And it’s delish! :)
bacon cheese potato salad
Fully Loaded Baked Potato Salad

Friday, April 24, 2015

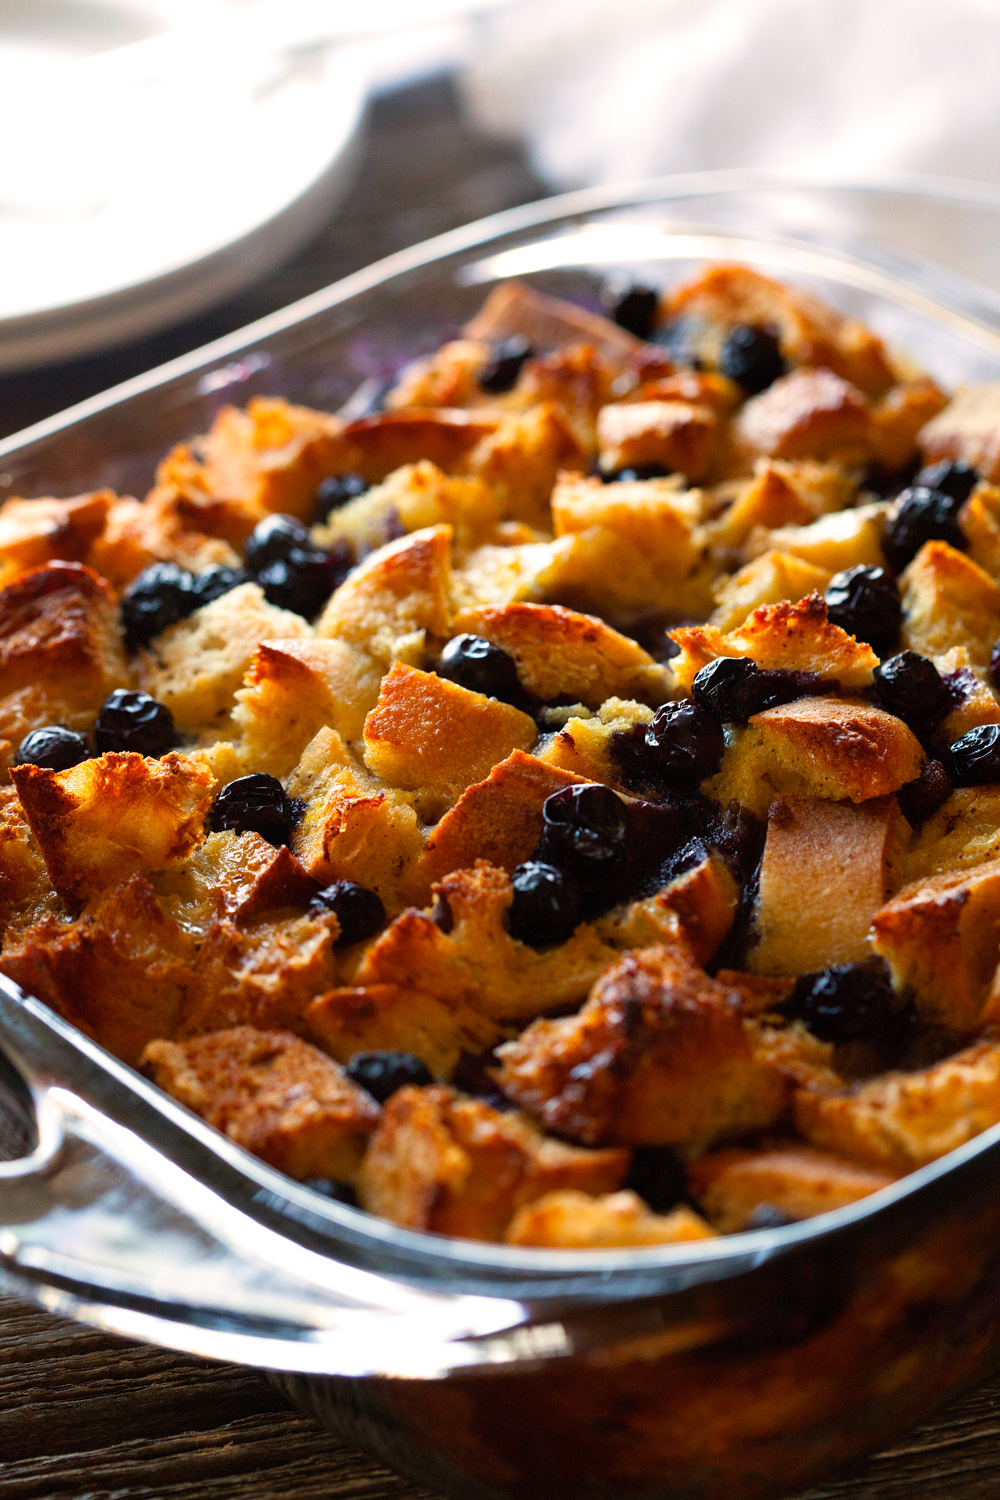
READY FOR THE WEEKEND RECIPE: BLUEBERRY FRENCH TOAST CASSEROLE

READY FOR THE WEEKEND RECIPE:  BLUEBERRY FRENCH TOAST CASSEROLE
http://deliciouslyyum.com/overnight-blueberry-french-toast-casserole/

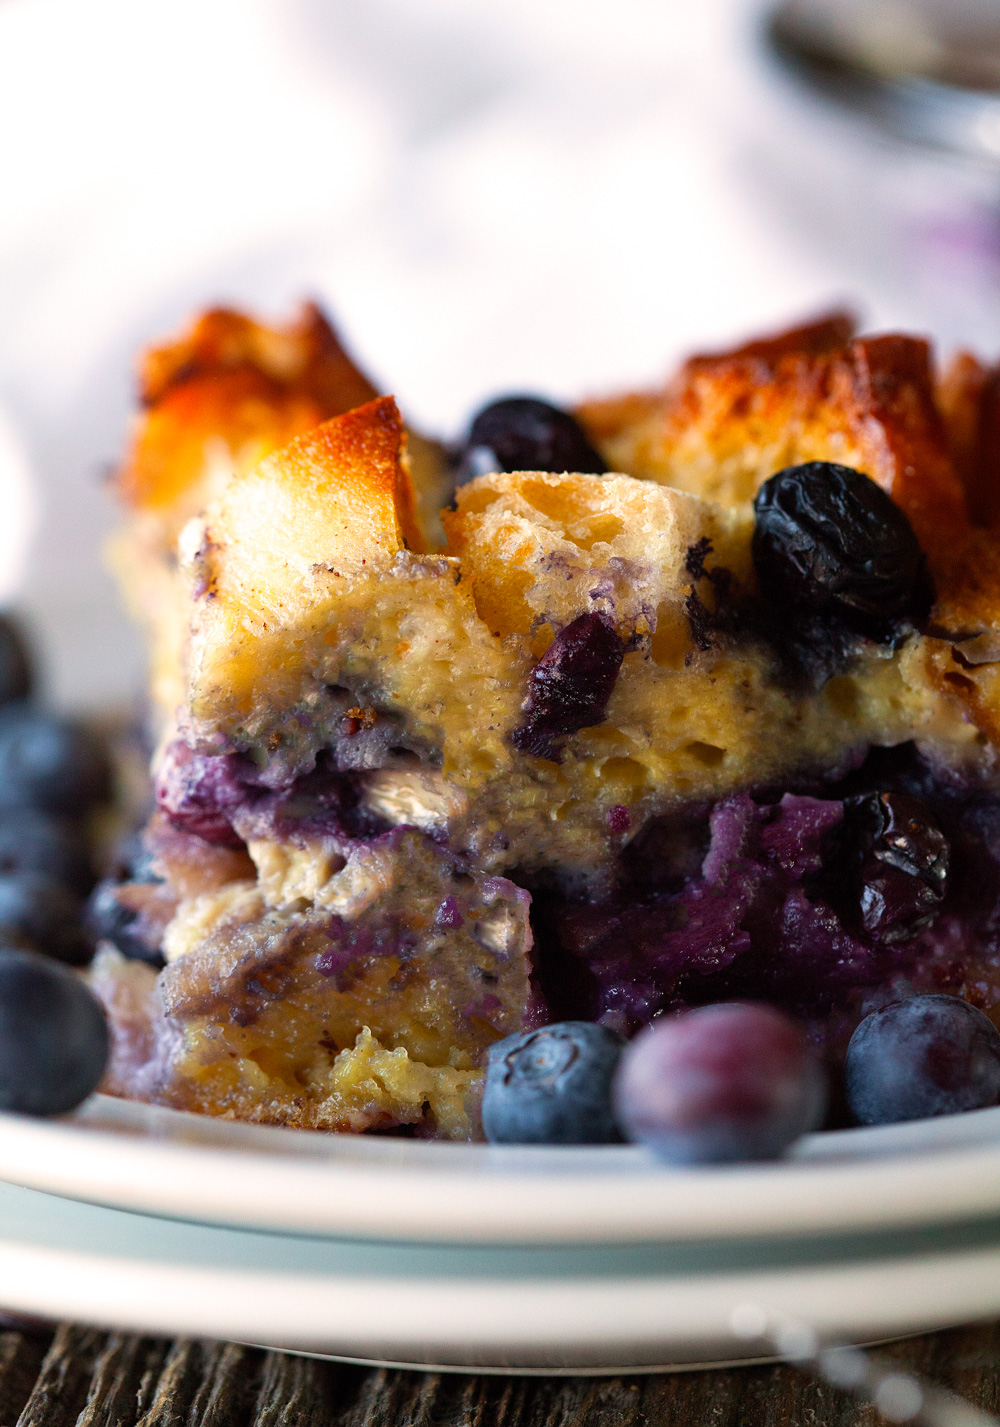
Overnight Blueberry French Toast Casserole

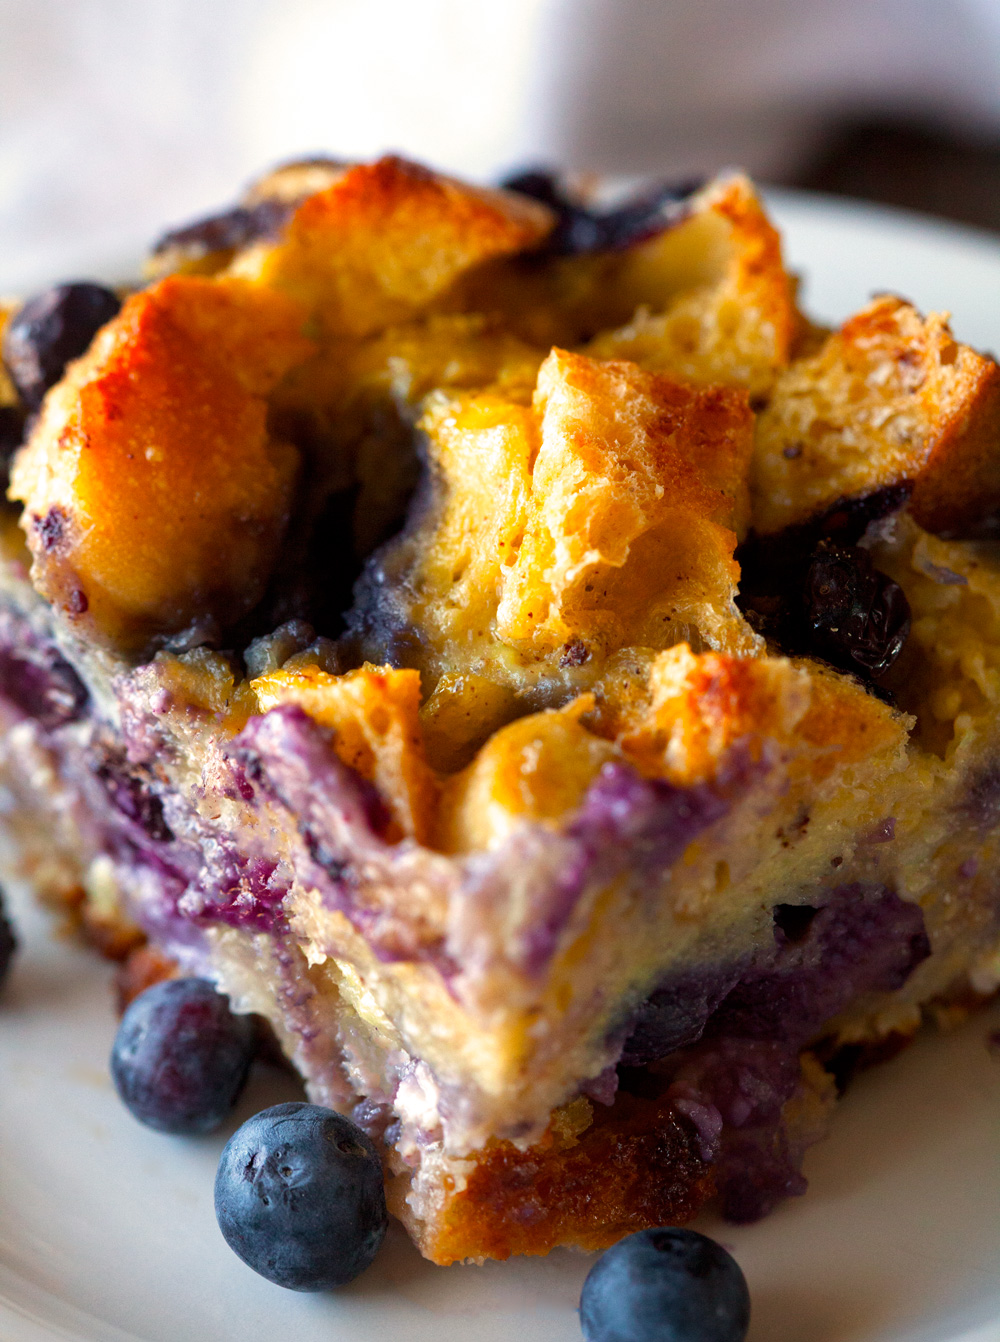
A French Toast Casserole studded with fresh blueberries, which is super easy to prepare and topped with warm homemade Blueberry Syrup.
overnight-blueberry-french-toast
Hi! How was your weekend?
I thought I’d post this recipe today to savor the weekend a little bit longer. We had a jam-packed couple of days including tackling some projects around the house, squeezing in a couple of runs and going on a fun date together. Time sure seems to be flying by when the weather is improving and you can finally step outside without having to worry about frostbite or slipping on a piece of ice.
Late Friday night, I decided that we would be enjoying our much loved Blueberry French Toast the following morning. Never mind that it was getting kind of late since this breakfast casserole can be whipped up in mere minutes.
overnight-blueberry-french-toast
I didn’t really have any intentions of posting this recipe. Not because I didn’t want to share it, but this recipe has been around for so long now, that it simply didn’t occur to me to put it on the blog. Until I pulled out the recipe and realized that the original is nothing like the one I use now to make this casserole. It has undergone many changes over time, all of which were stashed in my memory. So I proceeded to write everything down step-by-step and was holding the perfect recipe to share with all of you!
overnight-blueberry-french-toast
This casserole definitely falls into the oldie but goodie category. There are many reasons why this is a family favorite, but the best part is that it requires almost no work the following day. I am all about spending as much time as possible with my loved ones instead of in the kitchen.
There is nothing like sitting down for a meal and enjoying every minute of good food, good conversation and perfect company. Sitting down for a meal is really important in our house. Both my husband and I eat supper together pretty much every night at our dinner table. It’s something we have done since day one of our marriage and still look forward to the most each and every day.
overnight-blueberry-french-toast
As soon as this dish comes out of the oven, the entire family will be able to enjoy a delicious meal together.
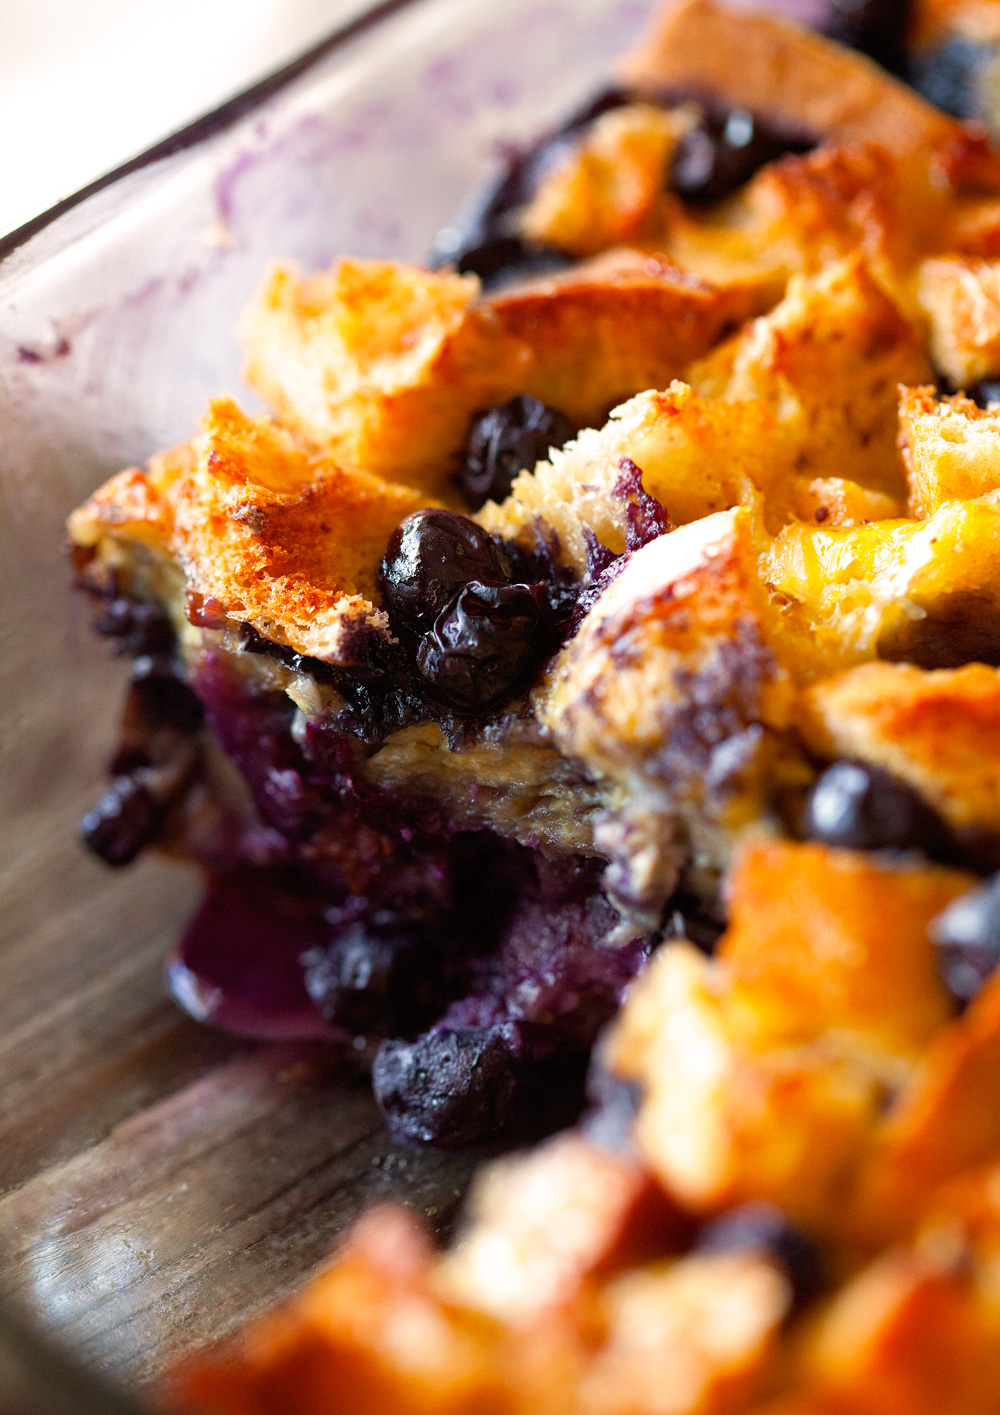
Not only does it make for a nice presentation with perfectly toasted French bread pieces and caramelized blueberries on top, but it tastes even better. This French toast casserole is crunchy, fruity, sweet and has a soft & creamy middle. It comes out just right every time.
overnight-blueberry-french-toast
I happen to think that this is the quintessential breakfast or brunch food or if you’re anything like me, this is more than appropriate for dinner as well :).
We top our French toast with a fabulous homemade Blueberry Syrup. Making the syrup is completely optional as you could totally serve this with regular syrup or even powdered sugar instead. But if you love blueberries or fruity syrups, this one is for you. And a must-try if you’ve never had it before.
overnight-blueberry-french-toast
Alright, friends. Hope you have a great start to your week!!
Overnight Blueberry French Toast Casserole
Yields 12
A super easy recipe for perfectly baked French Toast. This recipe is a family favorite and will be sure to please everyone around your breakfast table.
Write a review
Print
For the Blueberry French Toast Casserole
  1. 1 1/2 loaves French Bread, cut into cubes
  2. 4 oz. cream cheese
  3. 1 tablespoon milk
  4. 1/2 cup powdered sugar
  5. 1 cup blueberries
  6. 1 cup milk
  7. 5 eggs
  8. 2 teaspoons vanilla extract
  9. 1/2 teaspoon cinnamon
  10. 1/4 teaspoon nutmeg
  11. 1/4 cup maple syrup
For the Blueberry Syrup
  1. 1 cup cold water
  2. 2 tablespoons corn starch
  3. 1/2 cup sugar
  4. 1 cup blueberries
Instructions
  1. 1. Spray an 8-x-8 inch casserole dish with nonstick spray.
  2. 2. Spread half of the French Bread cubes in an even layer over the bottom of the casserole dish.
  3. 3. Mix together cream cheese, milk, and powdered sugar until well combined. Mixture should be somewhat thick and not watery. Add more powdered sugar if mixture seems too thin. Pour over bread cubes and sprinkle with blueberries.
  4. 4. Add remaining bread cubes over the top.
  5. 5. Combine 1 cup milk, eggs, vanilla, cinnamon, nutmeg and syrup. Pour mixture over bread cubes and sprinkle with additional blueberries. Cover with foil and refrigerate overnight.
  6. 6. Remove casserole from fridge 30 minutes before baking. Preheat oven to 375 degrees F and bake covered for 45 minutes. Remove foil and bake for another 30 minutes or until the center is set.
  7. 7. During the last 10 minutes of baking time, prepare the blueberry syrup. In a small saucepan, combine cold water, corn starch and sugar. Heat mixture and bring to a simmer. Add blueberries and continue simmering for 10 minutes. Serve casserole with warm syrup immediately.
Notes
  1. Syrup can be made ahead of time and stored in the fridge until needed. Simply reheat in a microwave until warm.
  2. Casserole is best enjoyed served immediately, but can be stored in the fridge for 2 days.
  3. You can substitute frozen berries. Also, you can use any type of berry you prefer.

Friday, April 17, 2015

WEEKEND RECIPE: Chocolate Lasagna

READY FOR WEEKEND RECIPES:  Chocolate Lasagna
http://cookinglifetothefullest.com/chocolate-lasagna/


Chocolate Lasagna

Chocolate Lasagna

Layer after layer of goodness. Who wouldn’t love this dessert?

We had friends over for dinner. I made a big pot of Italian Wedding Soup.  To continue the theme of Italian, I thought hmmm lasagna is Italian. So, Chocolate Lasagna seemed to fit the bill.

 
Chocolate Lasagna
 
Ingredients
  • 1 package Oreo cookies, 36 cookies
  • 6 Tbs butter, melted
  • 1 (8 oz) package cream cheese, softened
  • ¼ cup granulated sugar
  • 2 Tbs milk
  • 1 (16 oz) tub Cool Whip, divided
  • 1 large (5.9 oz) package chocolate instant pudding
  • 3 cups milk
  • 1½ cups mini chocolate chips
Instructions
  1. Crush Oreo cookies. Place in a ziplock bag and use rolling pin to crush.
  2. In a mixing bowl, combine crushed oreos and melted butter.
  3. Put into a 9 x 13 baking dish. Press down the crust to cover the bottom of the dish. Place into refrigerator while preparing the other layers.
  4. In a mixing bowl, mix cream cheese until creamy. Add sugar and 2 Tbs milk, mix well. Stir in ½ of the cool whip. Spread on top of Oreo crust.
  5. In a mixing bowl, combine 3 cups milk and instant pudding. Whisk for several minutes. Spread on top of cream cheese layer. Let set for 5 minutes, until pudding is firm.
  6. Spread remaining Cool Whip on top.
  7. Sprinkle chocolate chips on top.
  8. Place in refrigerator for 4 hours (or freezer for 1 hour) before serving.

Friday, March 27, 2015

Ready for the Weedend Breakfast Recipe: Muffin Pan Mini Quiches

Ready for the Weekend Breakfast Recipe:  Muffin Pan Mini Quiches
https://michellesmithrdsecrets.wordpress.com/2013/07/08/crustless-mini-quiches/


image_14


Crustless Mini Quiches

I thought of this recipe when I started working as a Dietitian at the hospital. I am not a morning person at all and I was looking for a way to have a nutritious breakfast that wouldn’t require me to set my alarm any earlier and this is what I came up with. You can make them Sunday evening and you’re set for the workweek for breakfast. Just put them in the fridge and pop them in the microwave in the morning  to reheat. 
Makes: 9 crustless mini quiches
Prep Time: 10 minutes
Cook Time: 20 minutes
Materials: image_1                  
  • Oven
  • Medium bowl
  • Whisk or fork
  • Knife and cutting board
  • Muffin pan
  • Spoon
Ingredients:
  • Cooking spray
  • 6 eggs
  • 1/2 cup 1% milk
  • Seasoning of your choice
  • Mix-ins such as vegetables and cheese
Directions:
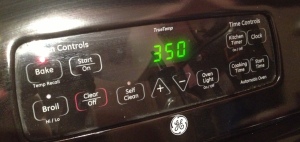
1. Preheat oven to 350°F
image_2
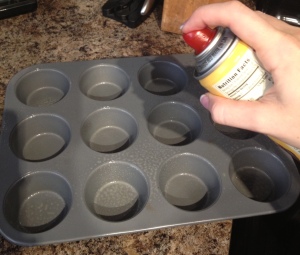
2. Spray muffin pan with cooking spray
image_3
3. Add eggs, milk, and desired seasoning into bowl and whisk  (I chose the Italian Herbs grinder I had in my pantry. I add LOTS to give extra flavor.)
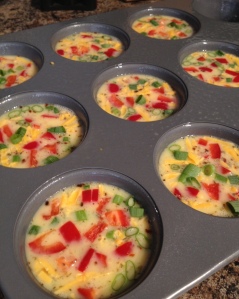
4. Pour egg mix into muffin pan, about 3/4 full
image_4
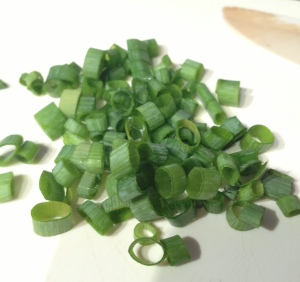
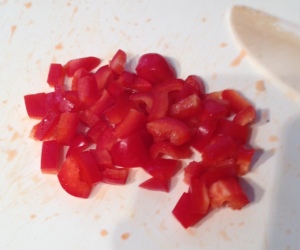
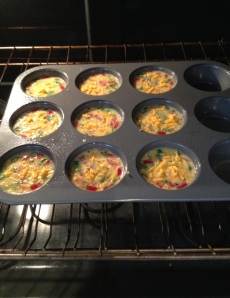
5. Add desired mix-ins (I use what I find at the Farmer’s Market. This week I happened to have scallions, red bell pepper, and cheddar cheese. Other options to try are spinach, onions, swiss, mushrooms, tomatoes, feta, etc. Get creative!)
image_7image_8
6. With a spoon, stir each cup to get the mix-ins incorporated
image_9
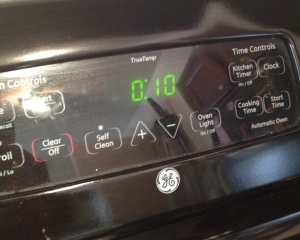
7. Put in the oven, setting the timer for 10 minutes
image_10image_11
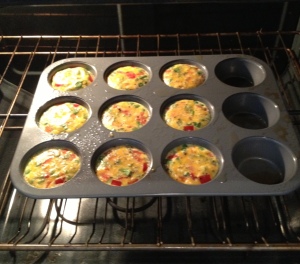
8. After 10 minutes rotate the muffin pan 180° and set the timer for another 10 minutes
image_13image_12
9. After a total of 20 minutes, remove the muffin pan from the oven (You will notice the quiches have puffed up a lot but they will sink back down once removed from the oven.)
image_14image_16
10. Immediately remove quiches from muffin pan using a spoon to help scoop them out
image_17
11. Let cool and enjoy! (Or store for later use)
image_19image_15
These are not just for working people in need of a fast breakfast either. Have a family or group of kids with different likes and dislikes when it comes to veggies? Have bowls of different options available and have each person add their own mix-ins. It’s an easy way to allow everyone to have breakfast just the way they want it.
*Nutrition for 2 mini quiches with egg and milk only (since your mix-ins will vary):
  • Calories: 124
  • Total fat: 8 g
  • Saturated fat: 2.6 g
  • Cholesterol: 289 mg
  • Sodium: 122 mg
  • Total carbohydrate: 2 g
  • Sugar: 2 g
  • Protein: 10 g
Keep in mind cheese will add protein as well as saturated fat, cholesterol, and sodium.


Friday, March 20, 2015

Ready for the Weekend Recipe: Swiss Chicken Avocado Melt Sandwich - Eat Healthy Recipe

Ready for the Weekend Recipe:  Swiss Chicken Avocado Melt - Eat Healthy Recipe
http://www.cleaneatingrecipesblog.com/easyhealthyrecipe-swisschickenmeltwithavocado/

healthy lunch idea 7

Easy Healthy Recipe for Clean Eating Lunch: Swiss Chicken Melt with Avocado (makes 1)
Ingredients:
– 4 ounces of pre-made (baked or broiled) all-natural chicken breast, sliced
– 1 slice of all-natural aged swiss cheese (I recommend Wisconsin Cheeseman Chalet Swiss Cheese. It’s aged to perfection, with a sweet and buttery flavor.)
– 1/2 ripe Haas avocado, de-cored, peeled and sliced
– 1 piece of whole wheat toast
– 1/2 table spoon of extra virgin olive oil
– Paprika
– Dry thyme
– Dill
Directions:
1. Heat a frying pan on high. Add olive oil.
2. When oil gets hot, turn heat down to med and place chicken slices in pan. Then, lay swiss cheese slices on top of each chicken slice. (Reduce heat if necessary.)
3. Wait until cheese melts over chicken, and turn off stove.
4. Toast bread. Lay it on a plate.
5. Layer chicken and swiss melt on top of bread. Then layer avocado slices on top of everything.
6. Splash paprika, thyme and dill over avocado.
Enjoy!

Friday, March 13, 2015

Ready for the Weekend Recipe: Bacon and Cream Cheese Chicken Rolls

Ready for the Weekend Recipe:  Bacon and Cream Cheese Chicken Rolls
http://blog.thelovenerds.com/2013/04/cream-cheese-and-bacon-chicken-rolls.html


Enjoy a delicious dinner with this Cream Cheese and Bacon Chicken Roll! A fabulous crispy outside makes it even better! {The Love Nerds} #dinner #chickenrecipe #chickenroll
INGREDIENTS
4-6 thin boneless, skinless chicken breasts
Chicken “stuffing”
6-8 ounces softened cream cheese (I used Chives and Onion cream cheese for a little extra flavor)
1 tablespoon of minced onion
1 tablespoon Italian Seasoning
1 tablespoon of garlic powder
1 teaspoon of pepper
2 teaspoons of lemon juice
4 Pieces of cooked and chopped Bacon
Coating the Chicken Rolls
1/4 cup flour
1 egg, beaten
1/2 cup corn flake crumbs
Enjoy a delicious dinner with this Cream Cheese and Bacon Chicken Roll! A fabulous crispy outside makes it even better! {The Love Nerds} #dinner #chickenrecipe #chickenroll
DIRECTIONS
1. Pre-heat oven to 350.
2. In a bowl, beat cream cheese, onion, Italian Seasoning, garlic powder, pepper and lemon juice until blended. Stir in cooked and chopped bacon. 
3. Spoon about 2 tablespoons of the cream cheese mixture on each piece of chicken and spread it out into a thin layer.
4. Roll chicken. I only had one roll fall apart a little bit on me. To avoid this, you can use toothpicks to keep the roll together. (I realized as making this that we don’t own any toothpicks.) 
5. Coat rolls with flour, then lightly dip in egg mixture, followed me rolling them in corn flake crumbs. ** (notes below)
6.  Drizzle some olive oil in a large skillet and heat. Briefly cook rolls over high heat, browning all sides. 
7. Place chicken rolls in a baking dish. Bake for 30 minutes or until chicken is fork tender and juices run clear.
**You don’t want to soak the roll in the egg, but you need it coated enough to hold the corn flakes.
**Make sure to really crush the corn flakes. It is more likely for smaller pieces to stick to the roll better.

Friday, January 23, 2015

Ready For the Weekend Dessert: Snickerdoodle In a Mug

Ready For the Weekend Dessert:  Snickerdoodle In a Mug

by:  http://www.fivehearthome.com/2015/01/15/snickerdoodle-mug-cake/


Snickerdoodle Mug Cake ~ bakes up in the microwave in just one minute, yielding a warm, cinnamon-sugary treat that will satisfy any sweet tooth! | FiveHeartHome.com
Snickerdoodle Mug Cake
Yield: 1 mug cake
Snickerdoodle Mug Cake
Snickerdoodle Mug Cake bakes up in the microwave in just one minute, yielding a warm, cinnamon-sugary treat that will satisfy any sweet tooth!
Ingredients
  • 1/4 cup + 2 tablespoons all-purpose flour
  • 2 tablespoons sugar
  • 1/4 teaspoon baking powder
  • 1/4 teaspoon cinnamon
  • 1/4 cup milk, at room temperature
  • 2 tablespoons salted butter, melted and cooled
  • 1/2 teaspoon pure vanilla extract
  • For layering/topping:
  • 1 tablespoon sugar
  • 1/4 teaspoon cinnamon
Directions
  1. In a small bowl, whisk together flour, sugar, baking powder, and cinnamon until thoroughly, completely combined, with no streaks of any ingredients remaining. Blend in milk, butter, and vanilla until batter is smooth. Into a 14-ounce (or larger) microwave-safe mug with straight sides, scoop a big spoonful of batter, then sprinkle with a spoonful of cinnamon sugar. Alternate layers, ending with cinnamon sugar.
  2. Microwave on high for 1 to 1 1/2 minutes, or until cake is done to your liking. Allow to cool for a couple of minutes before serving.
Tips, Tricks, & Variations
A tall, cylindrical mug with straight (not angled) sides will ensure that the cake bakes evenly. I found a 14-ounce mug to be the perfect size to allow the cake to rise up while baking without overflowing. (I filled my mug to the top with water and then transferred the water to a measuring cup to determine its capacity.) If you use a smaller mug, you may want to bake the cake on top of a plate or paper towel to catch any possible overflow.
The strength of individual microwaves can vary. The first time you make this recipe, be prepared to experiment a bit to make sure that 1 minute is the perfect length of baking time. The nice thing about this cake is that even if it is undercooked, you don't have to worry about raw eggs!
Unsalted butter will work just fine in this recipe, but I find that using salted butter adds a tiny flavor boost.